Welcome,
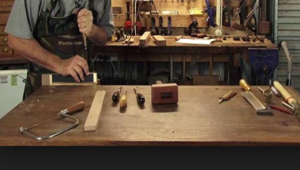 Long time woodworking enthusiasts. There is no better way to share the craft then to share it with others. The best way to learn a craft is to teach it to others. Therefore, taking the time to teach others the beautiful world of wood working is a passion.
A love of woodworking does not start at birth. You have to be able to see the beauty of wood and want to turn it into something that is even more beautiful. Sometimes this may begin with a birdhouse that you build with your parents help as a child. Other times, it may not begin until you are grown and want to build cabinets or something for your home. Regardless of when you discover that you have a love of wood and building; there seems to be a natural progression of wood working, which begins with your first finished project. From there, the sky is your only limit beyond discovering the tools that work best for you.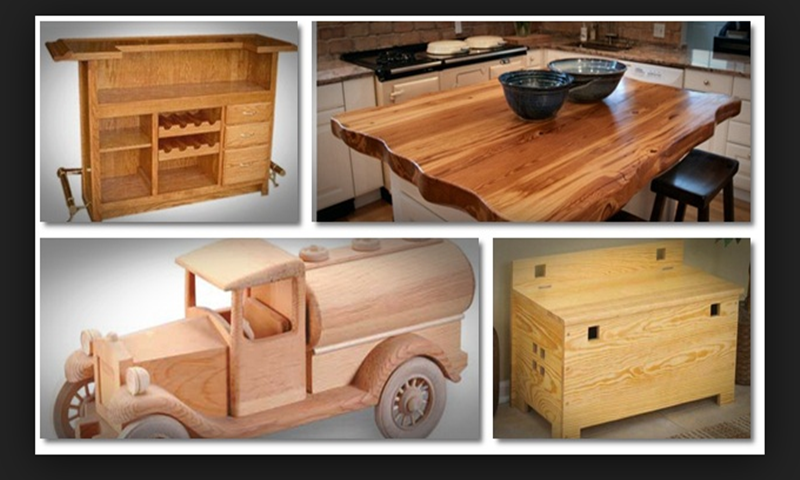
Beginner Wood Working
Most people start off easy. They start with a hammer, a few nails, a screwdriver, a measuring tape, and perhaps a saw. They practice their cuts, they may use wood burners or Dremel. They may have stain or paint so that bring out the true beauty of their finished product. Whether creating a bird house, a simple shelf, or a toy to play with; it ignites a love of woodworking that will not fade. Then, they must decide whether they want to stick with the basics or invest in power tools and a shop where they can work on even more projects.
The Intermediate Wood Worker
As someone who has had practice with woodworking, your projects will increase in complexity as well as size. You may create cabinets with doors, jewelry boxes, and other things that take a variety of cuts and a lot of time to assemble. This also means that you will want more powerful tools to help you get the projects completed. Jigsaws, electric drills, staple guns, sanders, air hammers, and other tools will be on your purchase list; if you haven’t already purchased them all. Your goal will be to create things that people want for you to build for them. All of these tools will take practice if you want to be able to use them effectively, but most are simple to figure out.
Professional Level Woodworking
A professional woodworker is someone that is good enough with all their tools to make money off their projects. They may build houses and a variety of very large projects, as well as smaller projects that are done very well. They may create things that other people cannot imagine making, perhaps wooden statues and other stuff. They may be craft projects that awe others or closet shelves that are accurately measured out. They are the extreme woodworkers. They have practiced how to cut with a table saw and have mastered their cuts. They can cut with jigsaws and have a working knowledge of all tools within their shop. Many will have also upgraded their tools so that they would be able to do more with them.
Once you reach this level in woodworking, you can create anything that you want to create. You can take on projects that most people would think were too difficult and you can make a career out of doing what you love the most
 The tools you have on hand will determine the amount of space that you need. A generator, a table saw, and a tool box for hand tools will most likely be some of the largest things you have in it, but you may also want to have a worktable that is large enough for you to work on. In most cases, people spend a lot of time at their workbench and use it for a variety of things. Smaller is not always better in a work bench, but it depends mostly on the types of woodworking you hope to do.
 Most every woodworking shop will end up with saw dust flying at one time or another. You can lessen the risk of this happening if you have a dust collection system. By collecting dust before it ends up on your floor, you will not have to worry as much about the air you are breathing within your shop. It will also ensure that there is less risk of sparks igniting, people slipping on the floor, or you losing that handy little tool that you use on virtually all your woodworking projects. It will keep the shop cleaner as an added bonus. If you have a potential customer coming in to see the projects you have completed, your shop will look more appealing to them and you will feel better about showing off where you work. Best of all, a
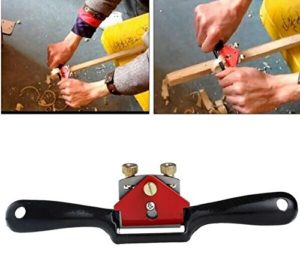
  The process of refinishing historic windows begins with careful assessment. Old sash windows, for example, contain mortise-and-tenon joints, wooden pulleys, weighted counterbalances, and hand-cut glass that must all be treated with extreme care. Removing layers of old paint, repairing damaged rails or stiles, and rebuilding deteriorated sections all demand precision. A skilled craftsperson must know how to strip finishes without damaging wood fibers, how to replicate original molding profiles, and how to splice new wood seamlessly into old frames. Many of these tasks involve tools and methods that are rarely used in modern carpentry—such as specialized scrapers, steam boxes, period-correct chisels, and custom-made knives for matching trim.
 One critical aspect of maintaining the functionality and energy efficiency of restored windows and doors is proper weather sealing. In heritage buildings, traditional solutions are not only preferred but often required to maintain historical integrity. This is where spring
 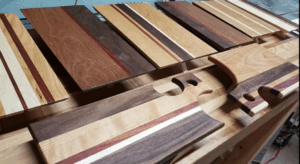 One major reason charcuterie boards have become so popular is the degree of customization they offer. Customers can choose the wood species, board shape, handle style, finish, and decorative elements to create something entirely personal. Some woodworkers engrave names, family crests, meaningful quotes, or monograms into the surface, making the board not only functional but deeply sentimental. Resin accents are another modern trend, where translucent or colored resin fills natural cracks or is poured into carved recesses, enhancing the board with rich visual contrast. Because charcuterie boards can be designed in almost endless combinations, they have become highly sought after for holidays and gift-giving. Whether for Christmas, Thanksgiving, or housewarming events, a handcrafted board is both memorable and practical, offering a personal touch that mass-produced kitchenware cannot match.
 Their popularity also stems from how universal and enjoyable charcuterie boards are to use. They encourage communal dining, the presentation of fresh ingredients, and the visual appeal of a well-arranged spread. Charcuterie boards are primarily used to serve assortments of meats, cheeses, fruits, nuts, spreads, and breads—the classic elements of appetizer and grazing platters. They are especially associated with Italian-style antipasti, which often include cured meats like prosciutto and salami, soft and firm cheeses such as mozzarella or pecorino, marinated olives, roasted peppers, artichokes, bruschetta toppings, and crusty sliced bread. The rustic elegance of
 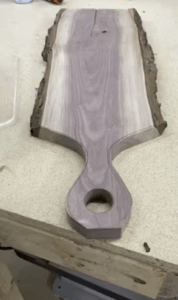 Beyond functionality, charcuterie boards have become statement pieces in the modern kitchen. Many people display them permanently on countertops or open shelves as decorative elements that showcase natural wood’s warmth and beauty. Some owners collect multiple boards in different shapes and sizes—round, paddle, rectangular, or free-form—each suited to specific serving needs. This blending of art, utility, and culinary culture is what makes charcuterie boards special. They represent time-honored craftsmanship combined with contemporary dining trends, and their adaptability ensures they remain a staple during the holidays and beyond. Whether used for Italian appetizers or a creative assortment of modern flavors, charcuterie boards add a sense of occasion and artistry to every meal.
 Just consider for a moment the river tables that are so popular right now. These tables use epoxy to hold together a slab or two of wood that may never touch each other. Epoxy itself is clear, but you can add pigments to it to get a more desirable color if you want to.
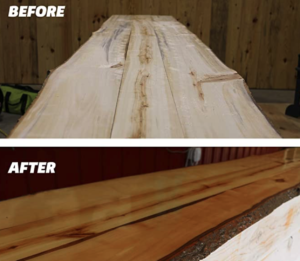 To start, you will need to pick your wood and prep it. This may involve cutting and sanding the wood. You will also want to build a dam around the edges to prevent epoxy flow off of it (especially if you want to deep pour).
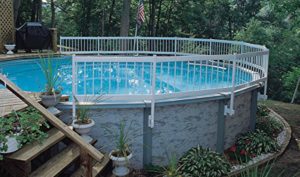
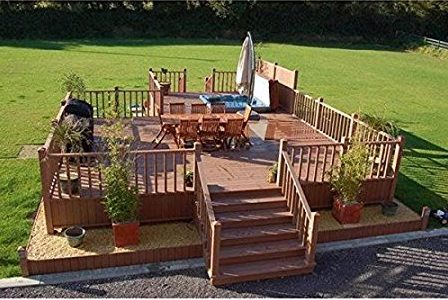
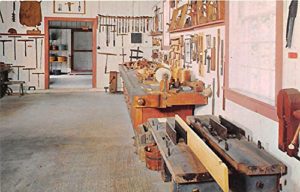 Woodworking is a broad term that encompasses a lot of projects that involves wood, but most people who hear the term “woodworking” feel that it is creating wooden plaques or designing beautiful shelving units. The woodworker is often credited for furniture and cabinetry. There is a lot of those type things done in a workshop, but you can also take your talent outdoors where you create other types of beautiful wooden items. For instance, by opening up your mind to the possibilities, you can create custom decks for your above ground pool like this site, a dock down by the river, or a gazebo that is more beautiful than any of your neighbors have ever seen. It may sound like things that someone would do if they were a carpenter, but you can do anything if you set your mind to it and in the end; if you can dream it-it doesn’t matter what you call yourself.
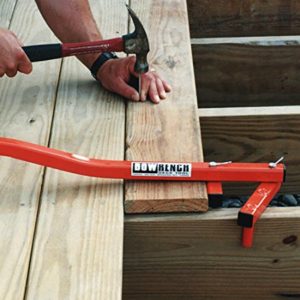 Construction is often done in a residential or a commercial setting. The carpenter may build staircases, erect walls, and ensure that the window openings are the same size as the window will be. A woodworker can be on a construction crew, but they may be confined to building cabinets, shelving units, and other decorative things for the home or office that they are working on. A carpenter can read blueprints and though there are some blueprints available for the woodworker; they are not as specific. Both the carpenter and the woodworker will need the same types of tools. They will both rely on their creativity and skills. They will both need saws to get the job done and know how to measure out wood to lessen mis-cuts.

 Wooden canoes were first created back when